Lets Talk Metrology – The Sempre Group: Always ready for a metrology challenge
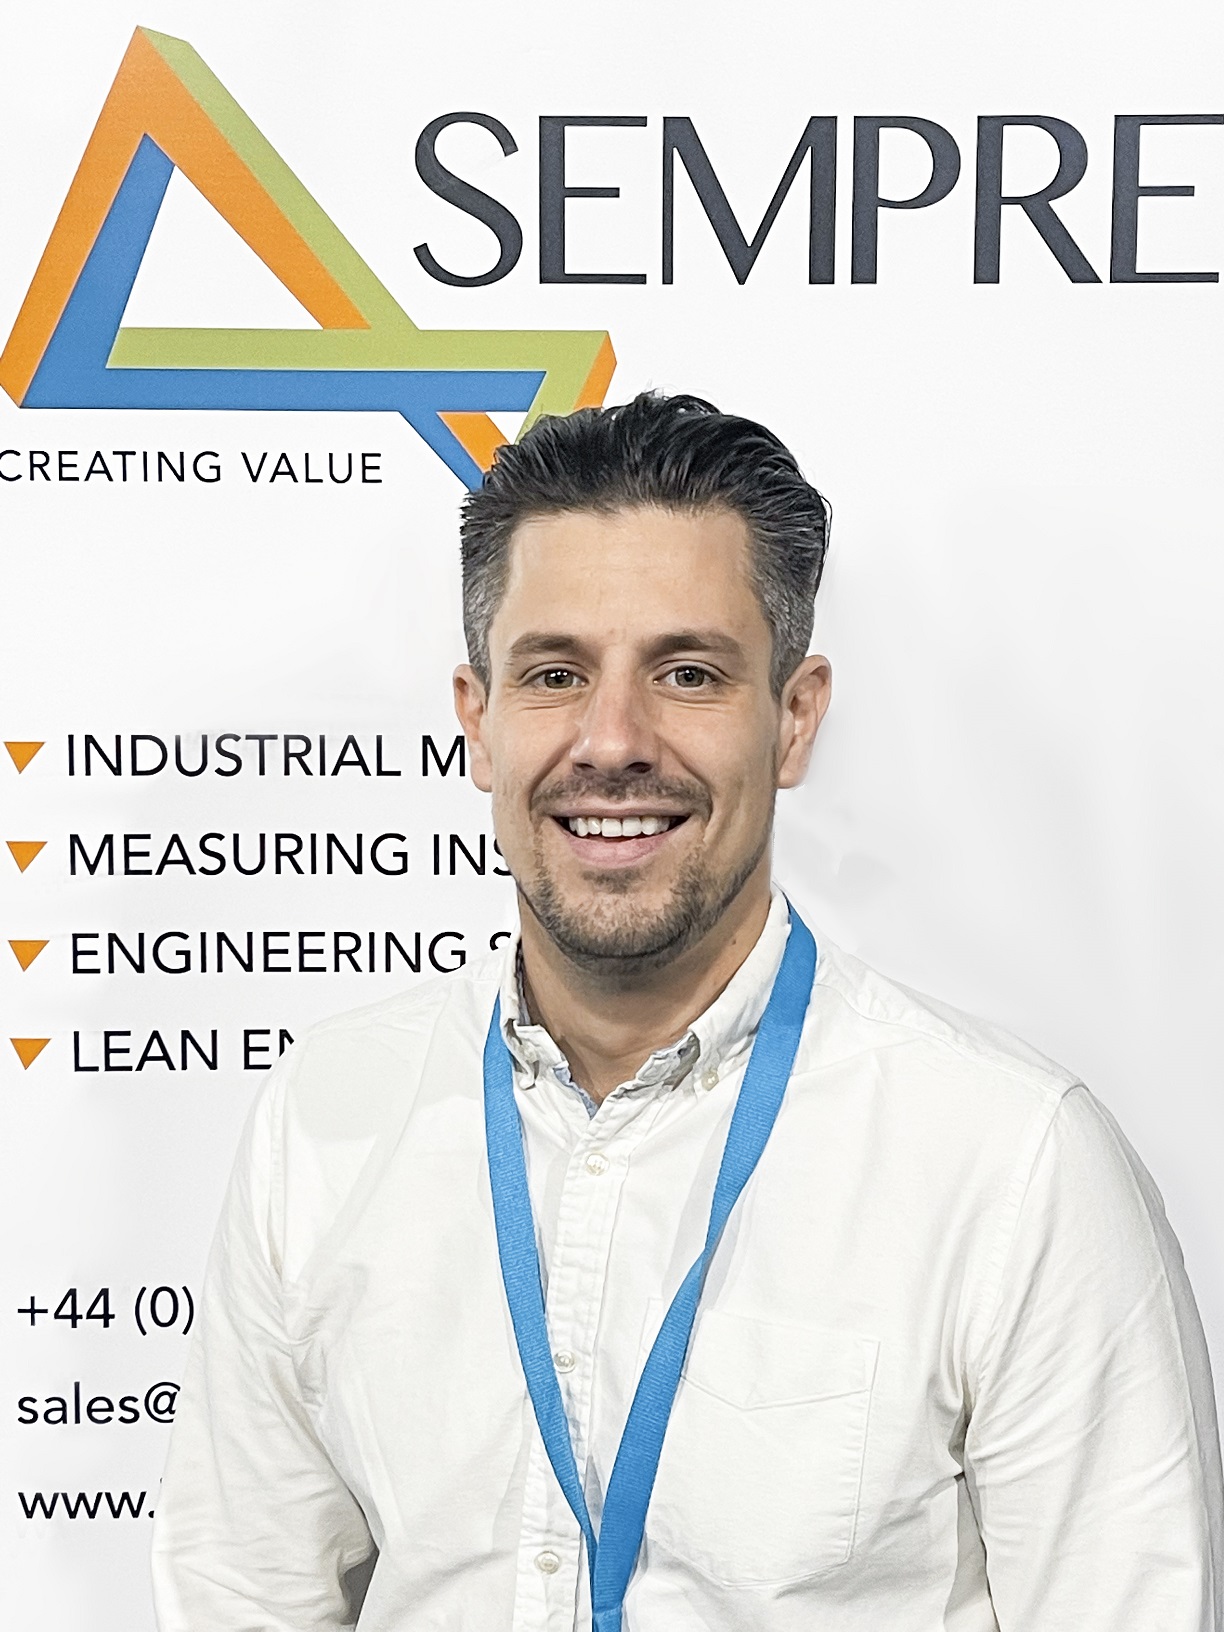
In an exclusive discussion with contributing editor Steed Webzell, The Sempre Group’s recently appointed head of sales Jamie Greatrix shares his thoughts on how the latest metrology products and services can help guarantee success for manufacturers
Metrology is a vast technology area, which is why it requires specialist know-how. Whether it is measurement, quality assurance/control, data collection, surface topography, shaft measurement, multi-sensing CMMs, jigs and fixtures, or any number of other focus areas, Gloucester-based The Sempre Group has the heads-up on them all.
“We build our success on the extensive range of solutions available from our technology partners,” states Jamie Greatrix, head of sales. “Each partner shares similar values to us, which is why we trust them to deliver high-quality products that offer something extra within our repertoire. By utilising experts from across the globe who are specialists in their field we can provide our customers with the optimal solution to their quality and productivity challenges.”
Special measures
Mr Greatrix has a huge passion for inspection, metrology and UK manufacturing having spent this entire career within this area. At The Sempre Group, he is on a mission to help customers solve their most complex applications through the use of connected metrology. This process typically starts with an initial conversation about applications, pain points and current business strategy. From here, he can start to build a technology proposal that includes consideration of automation and connectivity opportunities (either now or as part of potential future development) to help maximise return-on-investment (ROI).
“The Sempre Group aims to improve productivity for manufacturers in the UK and Ireland,” says Mr Greatrix. “We supply and support a wide range of systems for any metrology challenge. Our passion is to improve quality processes for our customers, digitalising each step and giving them insight into how they can improve design, production and quality checks on their products, rather than just performing a box-ticking exercise.”
He continues: “Having a range of partners and technologies means we have no obligation about what we supply; it’s always about what’s best for the customer. If you go directly to a CMM manufacturer, by default they will try and sell you a CMM, but maybe that’s not the best option for your particular application. You might benefit more from a 3D scanner or vision system, for example. Our team is made up of metrology specialists who are not only able to measure the most complex of parts, but understand the multiple ways this can be done, which would be most beneficial to you and even offer advice on where a quality issue may be originating using data and experience.”
Making sense of metrology
Always at the forefront of quality technology, Sempre’s recent partnership with Sensofar optical profiler manufacturer has proved the benefits of entering the quality process earlier, at product design stage.
“Among our most exciting and fast-growing solutions at present is Sensofar’s technology,” says Mr Greatrix. “Sensofar specialises in surface topography and they have a system called the S neox, which is a 3D optical profiler that utilises four different measuring techniques in a single instrument. The whole concept is built around versatility, particularly when designing products and testing different materials.”
Those investing in the S neox will benefit from: AI focus variation, which saves each layer as the lens moves upward, allowing users to see shape and curvature on large, rough or steep surfaces; confocal technology, which only allows focused light through, permitting operators to see the surface structure for roughness measurements; interferometry, which deploys a laser to allow nanometre-level measurement on reflective surfaces; and spectroscopic reflectometry, where users can perform thickness measurements on transparent layers in a quick, accurate and non-destructive way.
“Some of these individual techniques are great for reflective metallic surfaces, for instance, but not so adept on clear glass or plastic – and vice versa,” explains Mr Greatrix. “The S neox provides a unique, universal solution to many applications within industry and the engineering departments of universities and colleges.”
Of particular note, the device overcomes certain issues with tactile measurement methods, where the diameter of a probe tip may be too large to reach the bottom of each trough or valley in the component surface. Conversely, interferometry or confocal techniques can see everything, even the bottom of the smallest trough.
When the going gets rough
“Surface roughness measurement has come a long way in recent years, although I still speak to some people who run their nail across a graded scratch pad before doing the same to a machined part by way of comparison,” reveals Mr Greatrix. “Hardly scientific, but some make do that way. In my opinion, there’s a difference between providing your customer with a surface roughness number to get parts out the door, and really wanting to understand what’s going on with your components, materials, lubricants and so on. We’re currently working with university professors who are undertaking studies on surface roughness and technologies, as we want to lead the market with our expertise in subjects such as this.”
With such a wide-ranging portfolio, The Sempre Group can offer full turnkey solutions, taking advantage of both hardware and software innovations to deliver complete automation.
“For instance, customers can take advantage of HighQA Inspection Manager software, which will provide auto-ballooning of customer drawings and create inspection reports that they can then feed into their metrology solutions,” says Mr Greatrix. “That solution will run the parts and collect the data, which the customer can collate using our universal data collection and analysis software, Prolink. They can then export the results directly into reports, including FAIR/PPAP templates. The result: a turnkey solution from data entry, through measurement, to data output and quality reporting.”
Endorsing outsourcing
Of course, for those unable to make capital investments, there is another way. Over the past couple years The Sempre Group has been growing its subcontract measurement business.
“It’s not just financial constraints that are pushing this trend, it’s also the skills shortage,” reports Mr Greatrix. “With our subcontract measurement service we effectively act as an extension of our customers’ quality control function. We take their skills issues away.”
By working with a metrology specialist such as The Sempre Group, manufacturers can enjoy peace of mind that someone else is measuring their parts accurately. Metrology engineers take information from customer drawings and CAD files to determine the optimal measurement method and which machines to use. Once the customer agrees to the quote, The Sempre Group will measure a small batch of parts, submitting reports for verification. Following acceptance, engineers will measure the rest of the components, deliver reports and return the components.
While Mr Greatrix reveals that industries such as aerospace, automotive, motorsport and medical are all proving busy at present, there is no easing up when it comes to enhancing the company’s customer offer.
“We are always expanding and improving our offering to meet with our customers’ needs, give them better insight into their processes, and allow them to work on [not in] the process, with more efficiency and less manual input such as data entry and reporting,” he says. “We are always on the edge of technology advances, so watch this space for 2023!”

