New CT system for shop-floor use on show at Southern Manufactuing
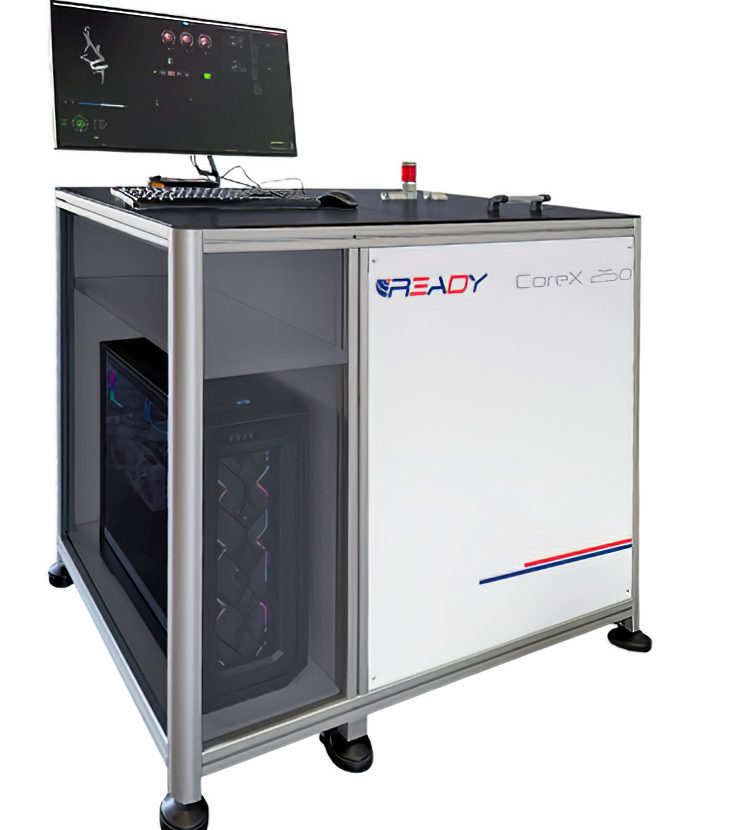
On Stand A265 at Southern Manufacturing & Electronics 2026 (Farnborough, 3-5 February), LK Metrology will exhibit for the first time the Corex 250 from Ready Metrology. The new industrial computed tomography (CT) system is designed for the production environment and features a 230 cubic mm working volume. It brings non-contact inspection and metrology into the factory to enable the non-destructive internal inspection of complex parts in seconds, reports LK.
A new philosophy in CT
Unlike traditional industrial CT systems, which are often prohibitively expensive, bulky and designed as all-purpose laboratory tools, the Corex 250 is purpose-built for the production line. While standard systems require complex set ups to handle any possible part, Corex 250 focuses on specific production needs. Instead of one oversized machine, the Corex series is available in three optimised sizes. This specialisation allows for pre-defined configurations and enhanced X-ray sources tailored to the customer’s specific materials.
Speed and simplicity
The Corex 250 is engineered for the shop floor, not just the laboratory. Offering high operational speed, it can inspect rubber, plastic or carbon-fibre components in 20 to 30 seconds. For denser materials like aluminium, magnesium and titanium, inspection times remain fast at 40 to 50 seconds.
A key innovation of the Corex 250 is its on-board integrated software. Unlike traditional systems that require complex external software, the CT system handles everything internally, delivering immediate results. This simplicity removes the barrier of specialised metrology training. Shop-floor operators do not need to be metrologists; they simply press a button to receive accurate, easy-to-interpret results through a simplified software interface.
Three strategic advantages for manufacturers
Corex 250 makes inspection of small batches profitable by reducing set-up times. During a batch change, operators can inspect the first, second and third parts produced in just minutes. There’s no longer any need to wait for a lab technician, as the shop-floor operator is completely autonomous. This factor returns the line into production faster, potentially saving an hour of downtime at every format change.
The second advantage is the speed of inspection, supporting high-frequency testing. The interface features an intuitive, colour-coded histogram, allowing operators to see at a glance if parameters are centred within the tolerance band. This capability enables real-time process correction before generating scrap, guaranteeing the delivery of only good parts to the customer.
Finally, in sectors like automotive, aerospace and medical, where reputation is everything, Corex 250 allows companies to document and certify the quality of their components through rapidly generated reports. This professional documentation provides a high level of credibility, without the significant costs typically associated with laboratory CT scanning.
Speaking the language of the shop floor
By removing the need for specialised metrology training and eliminating complex software interfaces, the Corex 250 speaks the same language as the production floor. It allows companies to increase their competitive advantage and handle high staff turnover easily, as the machine’s one-touch intelligence replaces the need for deep technical expertise.

