Most accurate Lotus car ever, thanks to cutting edge metrology
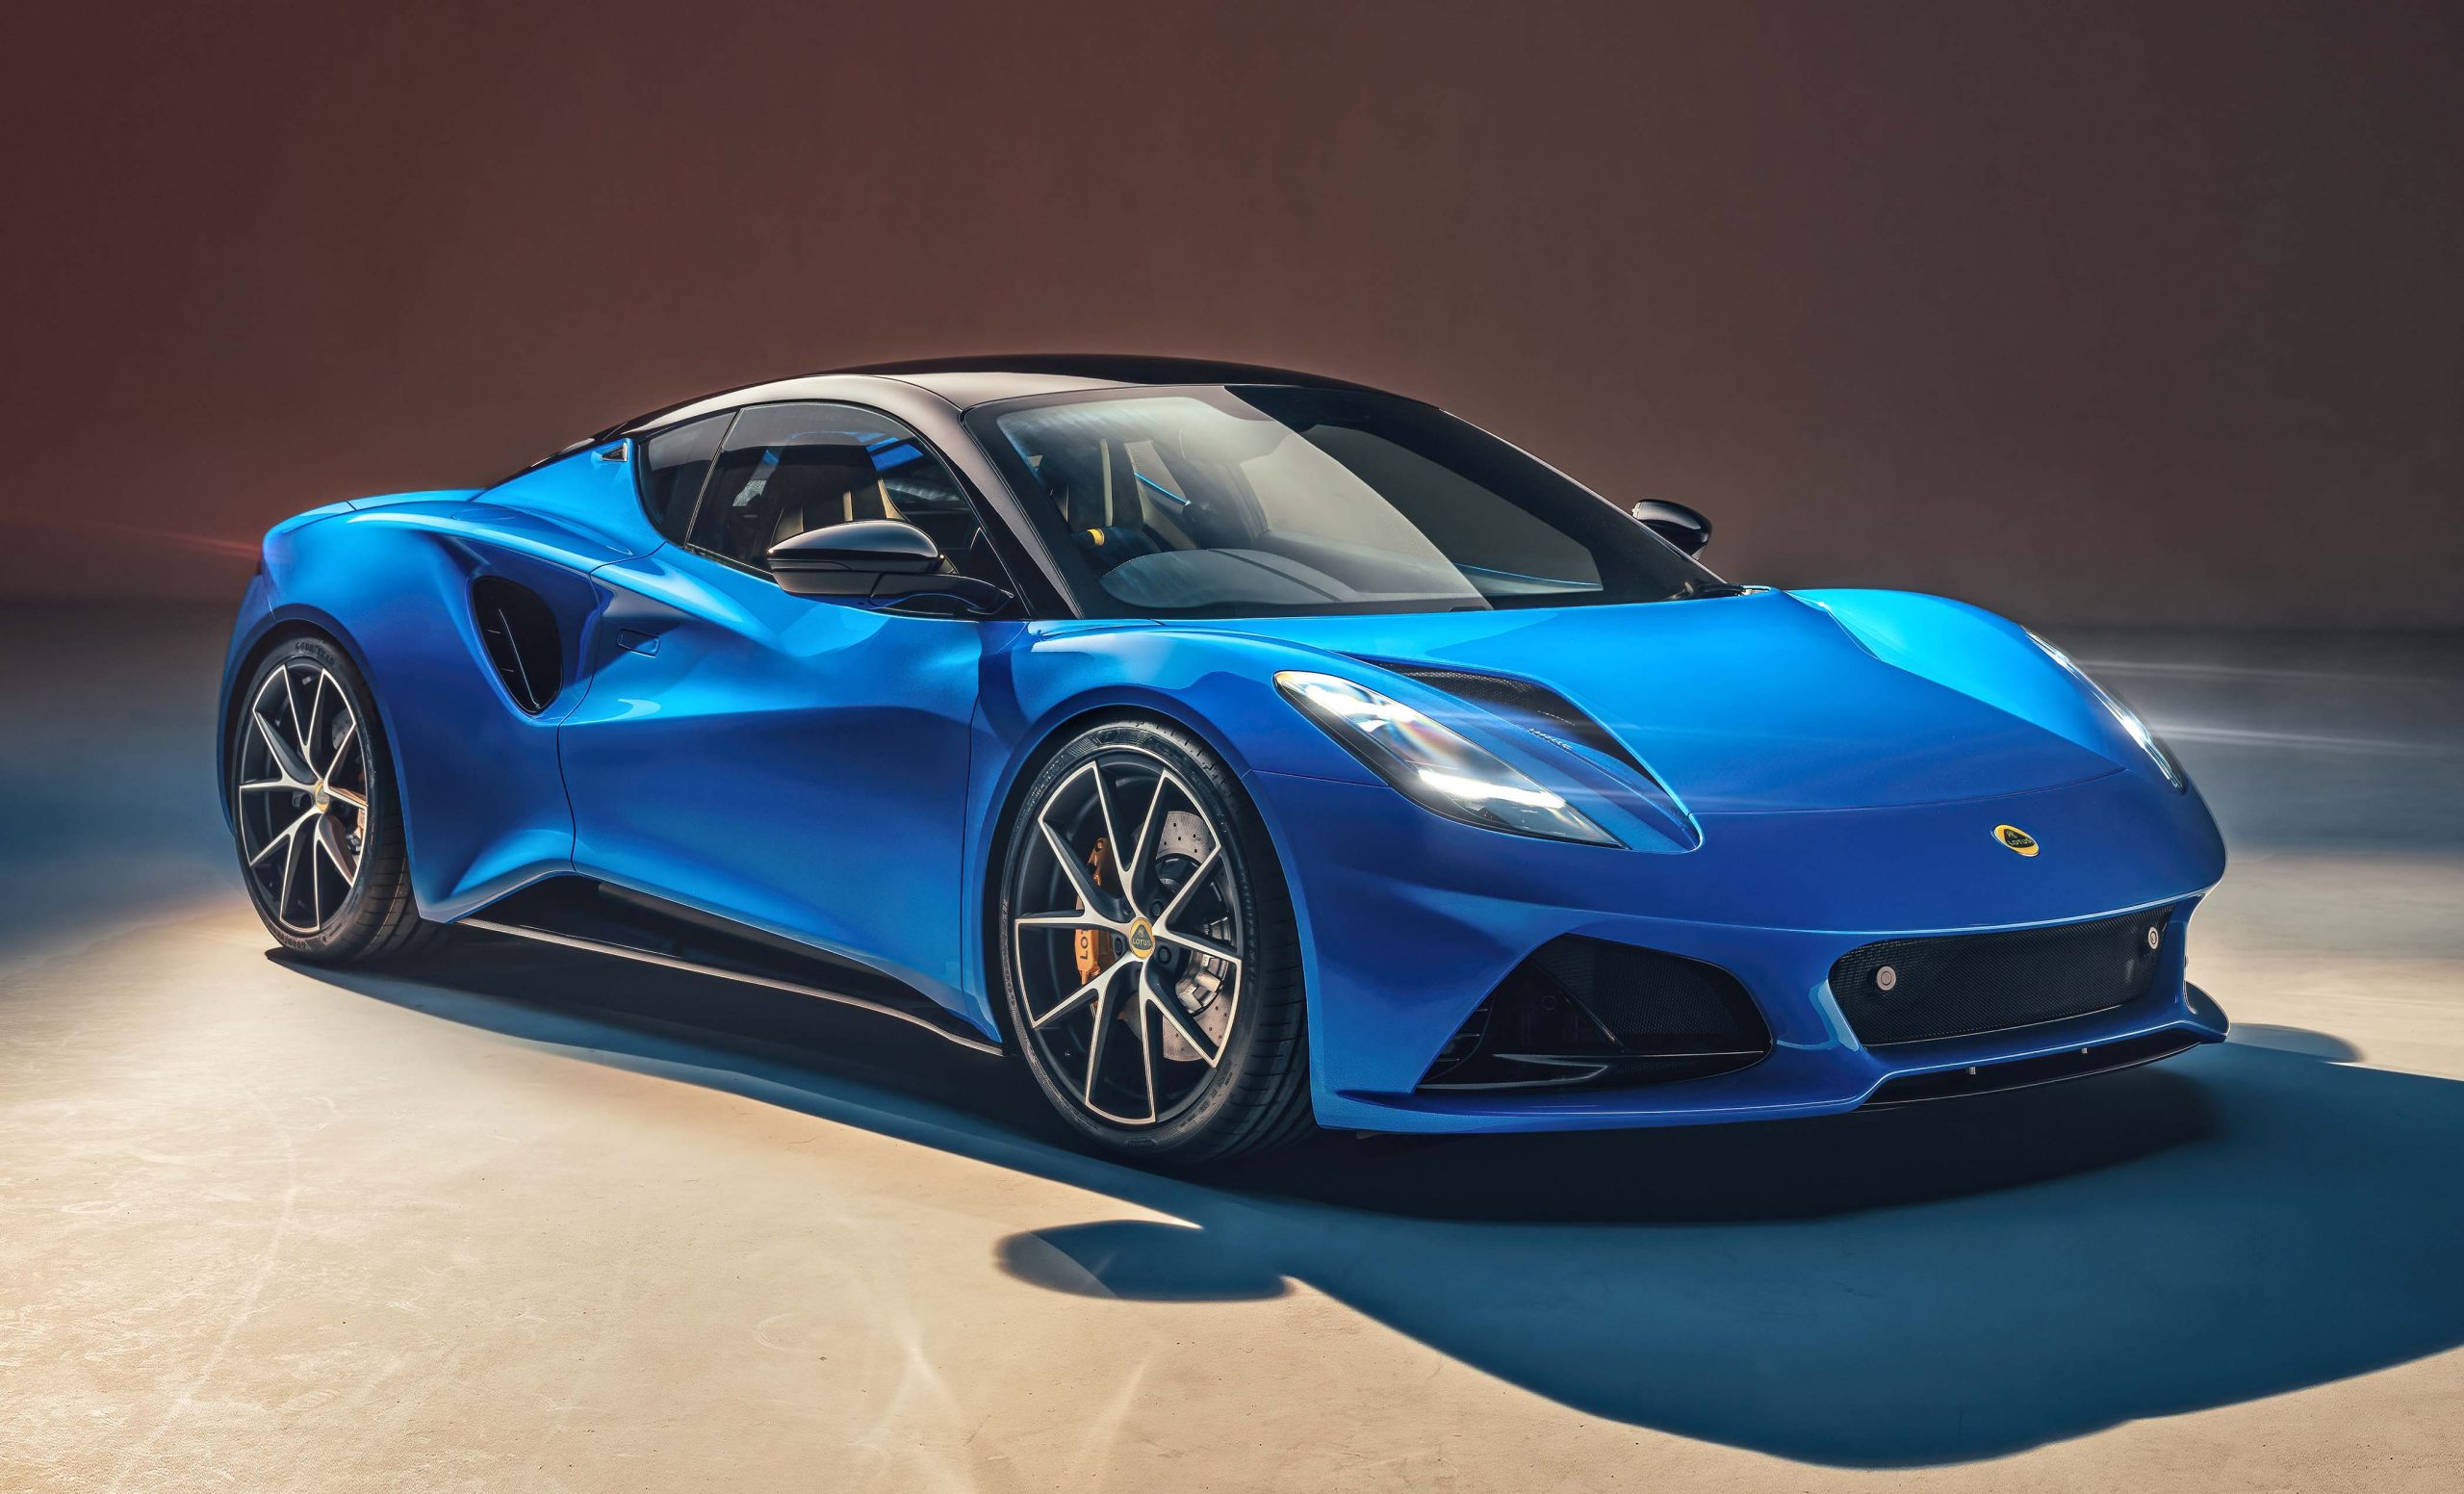
Since the first Lotus car was built in 1948, the company has been a beacon in the automotive industry for the design and manufacture of high performance cars born out of legendary success on the racetrack. The latest sports car, the Emira, is by far the most accurate model ever built by Lotus thanks to an upgrade in quality control (QC) at the company’s sports cars factory in Hethel, Norfolk, UK. It includes investment in a 5-axis HC-90TR twin-arm coordinate measuring machine (CMM) manufactured in Castle Donington by LK Metrology .
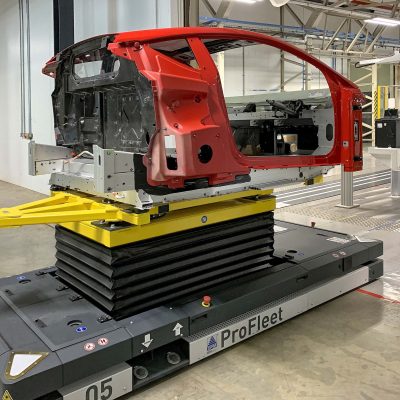
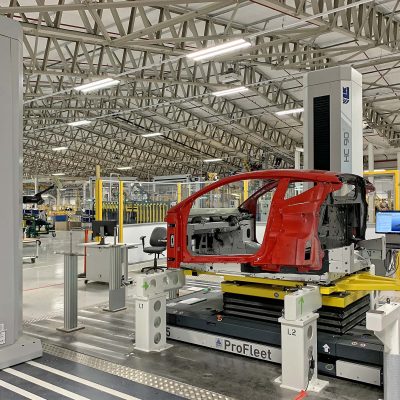
The CMM installed in Hethel is set one metre into the floor on a special foundation. It means that a car for inspection carried on an automated guided vehicle (AGV) is able to access the area without the need for any lifting equipment. The machine has a measuring volume of nominally 6.3 x 1.6 x 2.5 m, easily large enough to contain an entire car body. Advanced, triple-laser cross scanners are deployed on both arms to measure features automatically on both sides of the Lotus Emira simultaneously. The machine combines the high performance of a bridge-type CMM with the flexibility of the horizontal-arm configuration widely used in car plants.
The CMM completes automated measuring cycles so quickly that it is able to keep up with the quick TAKT time that defines the speed of the Emira production line. The fast throughput enables every car to be inspected, making this Lotus model the first whose manufacture is supported by such comprehensive QC. In two visits of the car at different stages of its build to the LK HC-90TR, a total of 130 measurements are made in scanning routines taking about 12 minutes and 8 minutes respectively. The rapid inspection cycles leave plenty of time for an AGV that has delivered a chassis to the CMM to load it and subsequently return it to the line. Before metrology starts, there is also time to verify the car’s alignment relative to the carline reference point system in the CMM, as well as to calibrate the laser scanners using dedicated calibration spheres. For speed and accuracy, they are touch-probed using sensors that are exchanged automatically by the arms from a rack. The same sensor is used for probing some critical internal dimensions of the car, while the laser scanner performs high speed scanning of the freeform surface areas.
Compared to traditional QC practices underpinning the manufacture of these largely hand-built sports cars, which are made from high tech, lightweight composite panels, the benefits of rapid point cloud acquisition and digitisation in the LK cell are enormous. Formerly, a sample chassis would have undergone measurement line-side on a manual CMM having an arm equipped with a touch probe. Fewer features would have been checked in up to five hours on typically one in every couple of dozen chassis, which had to be taken out of production and reinserted afterwards. There was potential for error not only through human intervention but also due to a need to reposition the car during inspection to compensate for the limited axis travels of the old CMM. More seriously, any of the unchecked cars between the samples might be out of tolerance, leading to time-consuming, expensive rework further down the line.
Tom Mackrill, Dimensional Quality Manager at the factory commented, “The Lotus Emira is our last new car to have an internal combustion engine, as we are going all-electric in future. We are aiming the product at the premium segment of the global market, so a very stable production process is required to ensure high build quality.
“Production rate of this car model in 2022 is substantially higher than last year, when we were ending production of the Elise, Exige and Evora, and is increasing strongly. So we need a QC solution that not only supports high precision but is also fast enough to generate large amounts of data quickly to match the production rate.
“We reviewed other inspection technologies including those involving various robot-mounted measuring heads. However we concluded that robots, particularly if they are mobile, would introduce extra potential error in addition to that of the measuring devices they carry and would need a reference measuring system to calibrate and realign them.
“We therefore came to the conclusion that a static CMM was the way to go in the productionisation of our new car, with a twin-arm configuration and laser cross scanners providing the required speed of metrology.”
The Renishaw PHS-2 two-axis CNC wrists that carry the laser scanners are able to rotate continuously and have infinite positioning, unlike conventional probe heads that only adjust in 7.5-degree steps. Each scanner can therefore be angled very precisely throughout an inspection cycle, allowing optimal positioning both inside and outside the chassis for rapid acquisition of freeform and geometrical data. When inside the vehicle, the PHS-2 is able to rotate under program control to look outwards at the interior of the bodywork to take measurements. The DMIS programs controlling each arm are essentially mirror images of each other, with additional movements inserted separately to address the minor differences unique to each side of the car.
The Nikon XC65DX-LS cross scanner with three laser lines captures in a single orientation and scan pass three times the amount of data that can be acquired by a single-line laser scanner. It enables short inspection cycles on the LK HC-90TR to support 100 percent QC of the Emira. The built-in technology means that the sensor is unaffected by the colour or reflectivity of what is being measured. It also provides automatic, real-time adjustment of the settings not only between successive laser stripes, but also for individual points along each line. The LS variant of the scanner signifies that it has a longer stand-off distance, up to 170 mm, allowing it to access difficult-to-reach features.
Two-stage inspection
AGVs deliver every Emira to the CMM from the production line, both early on from the end of the framing line (stage 1) and when the car is fully assembled (stage 2). It is deposited without manual intervention in carline and a bar code reader, known as a scripting system, verifies the vehicle’s identification number, colour, whether it is right or left hand drive and if a stage 1 or stage 2 metrology program should be run. The car in its stage 1 condition is not conventional body-in-white, as the body panels are already painted and the steering column and wiring looms are in place.
After automatic calibration of the laser scanners, they take 130 measurements around the car over the two stages to assess the accuracy of the vehicle. Suspension and engine mounting points are critical areas for inspection. Control of gap-and-flush is especially important, as the spacing between panels impacts directly on the perceived quality of the car on the forecourt.
The metrology cell was installed and commissioned by LK in the Hethel plant in January 2021, ahead of the start of Emira production. The automated equipment has been instrumental in raising production efficiency and lowering the labour cost content of the cars by ensuring that dimensional inspection controls the manufacturing process, rather than merely qualifying the compliance of the measured data. It is driving production strategy for the continuous improvement of individual parts and the whole process with the goal of zero-defect manufacture.
Mr Mackrill concluded, “Lotus had not dealt with LK before but I had previous experience of the CMM brand during employment in another car plant. Once we had decided that the gold standard of static coordinate measurement was the correct metrology route for us to take, we reviewed a number of offerings from different potential suppliers but LK stood out as being the best in terms of high-end technology.”

