Mitutoyo CMM Ticks all the Boxes for AML
As manufacturers strive for increased production efficiency and quality, they are applying the same criteria to their Coordinate Measuring Machine (CMM) purchases. Premium quality machine tools can reduce manufacturing times, but components can only be dispatched after inspection, making rapid CMMs crucial for reducing inspection times while improving quality.
Prudent manufacturers always consider after-sales service when making significant plant purchases. Advanced Manufacturing (Sheffield) Limited (AML) is one such company that evaluated both the speed and precision of their recent CMM purchase, along with the standard of after-sales service provided.
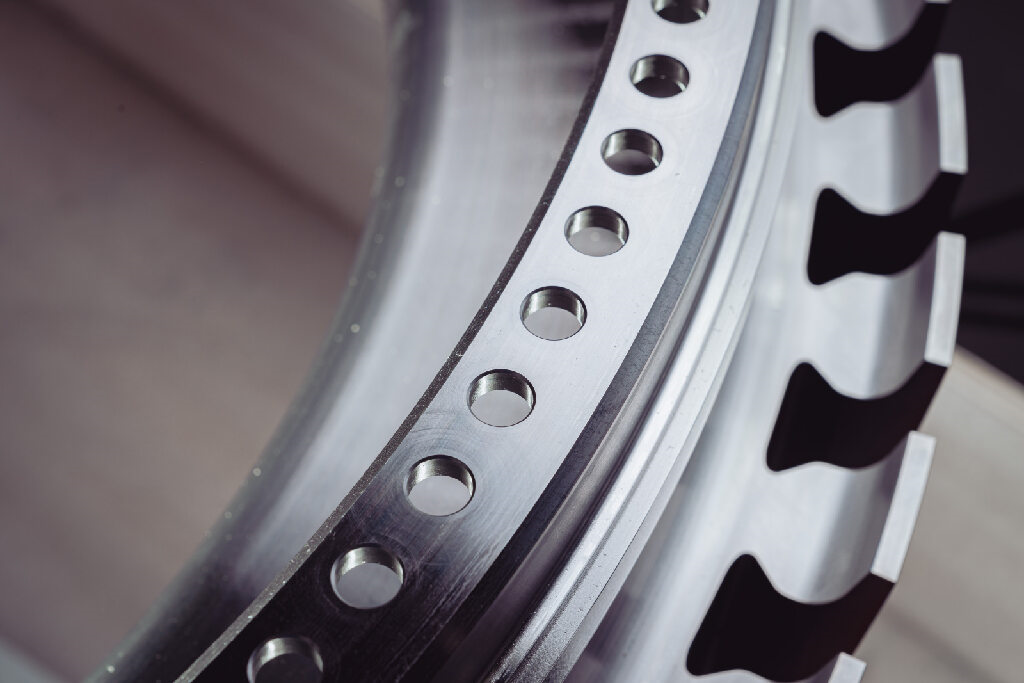
AML manufactures high quality precision parts including complex gas turbine components, such as blades, shafts, discs, blisks and bearings. Given the nature of the industries it serves, AML’s customers require it to work within the most stringent of quality procedures and to extremely tight drawing tolerances.
In accordance with AML’s policy of regularly investing in its inspection equipment, the company recently purchased a second advanced CRYSTA-Apex V122010 CMM from Mitutoyo UK. Mark Hands, AML Operations Director explained. “AML is an advanced manufacturing supplier specialising in the development of manufacturing solutions and production services for a variety of prestigious blue-chip clients. Amongst other demanding sectors we serve are the Aerospace, Defence, Nuclear and Energy industries. Therefore, we use cutting-edge processes and utilise the most up to date equipment to manufacture and inspect our precision parts.”
Mark Hands continued. “As a long standing Mitutoyo customer we are aware of the superior quality of the company’s products and the excellent levels of support it provides, therefore, having been very impressed with our first CRYSTA-Apex V122010 CMM, we were happy to place an order for a second machine.
“The advanced Mitutoyo CMM ticks each of our important boxes, of speed of use, accuracy, and not least, as Mitutoyo are our trusted inspection partner, we have the upmost confidence that, as previously experienced, we would continue to receive excellent levels of after-sales support from the business.”
Mitutoyo’s recently launched CRYSTA-Apex V1200, 1600 and 2000 series CMMs were developed for supporting the quality evaluation of volumetric parts and offer users up to 12,8m³ of measuring volume. The robust machines were designed and constructed according to Mitutoyo‘s extensive experience in CNC CMM technology. Whilst the flexible range is able to accept touch trigger probes, scanning probes, and both laser and scanning probes.
CRYSTA-Apex CMMs make use of a proven, lightweight bridge-type construction with high rigidity air-bearings on every axis, helping to deliver excellent levels of accuracy in addition to high speed and high acceleration rates. ABS linear scales provide high environmental resistance and save time at start-up as, unlike some other CMMs, homing is not necessary. Whilst a UC480 controller supports Multi-sensor and SMS (Smart Measuring System) functionality.
Although CRYSTA-Apex V Series machines are suitable for use within temperature controlled environment, thanks to their robust construction and features such as an advanced, real-time thermal compensation system, the range is also able to provide high levels of precision when installed close to the point of production, such as withing machine tool cells. This ability is in stark contrast to earlier generation CMMs where accuracy could not be guaranteed unless the CMM was installed within a temperature controlled environment.
Mark Hands concluded. “The staff of Mitutoyo UK carried out a very efficient CMM installation. In-fact. the team not only installed the new CMM, but also relocated other inspection machines at the same time. This limited the amount of downtime and disruption within our facility and ensured that our operational performance to our customer base was maintained.
“Our new Mitutoyo CMM is now giving outstanding service. In addition to providing the levels of precision that we require, its speed of use is ensuring a rapid throughput of components through our inspection operations.”

