Milling and grinding to single-figure micron accuracy on one machining platform
Founded in 1970, Gerhard Rauch uses a wide range of production techniques on its shop floor, including milling, grinding, spark erosion, turning, hard turning and laser marking as well as precision electrochemical machining.
CEO Anton Buresch commented, “We produce punching tools to extremely high accuracy. For example, mass production of aluminium foil yoghurt pot lids requires tools with gaps that are as fine as 2 µm in some cases. This requires a tolerance of less than ± 1 µm for both the punch and the die.”
In the past, multiple operations were needed to manufacture such tools. First, they were pre-milled in a soft state, after which they were hardened, which resulted in a certain amount of distortion. The tools were then milled and ground to their final dimensions. This multi-stage process was required because previously the machining centres in use struggled to process hardened steel.
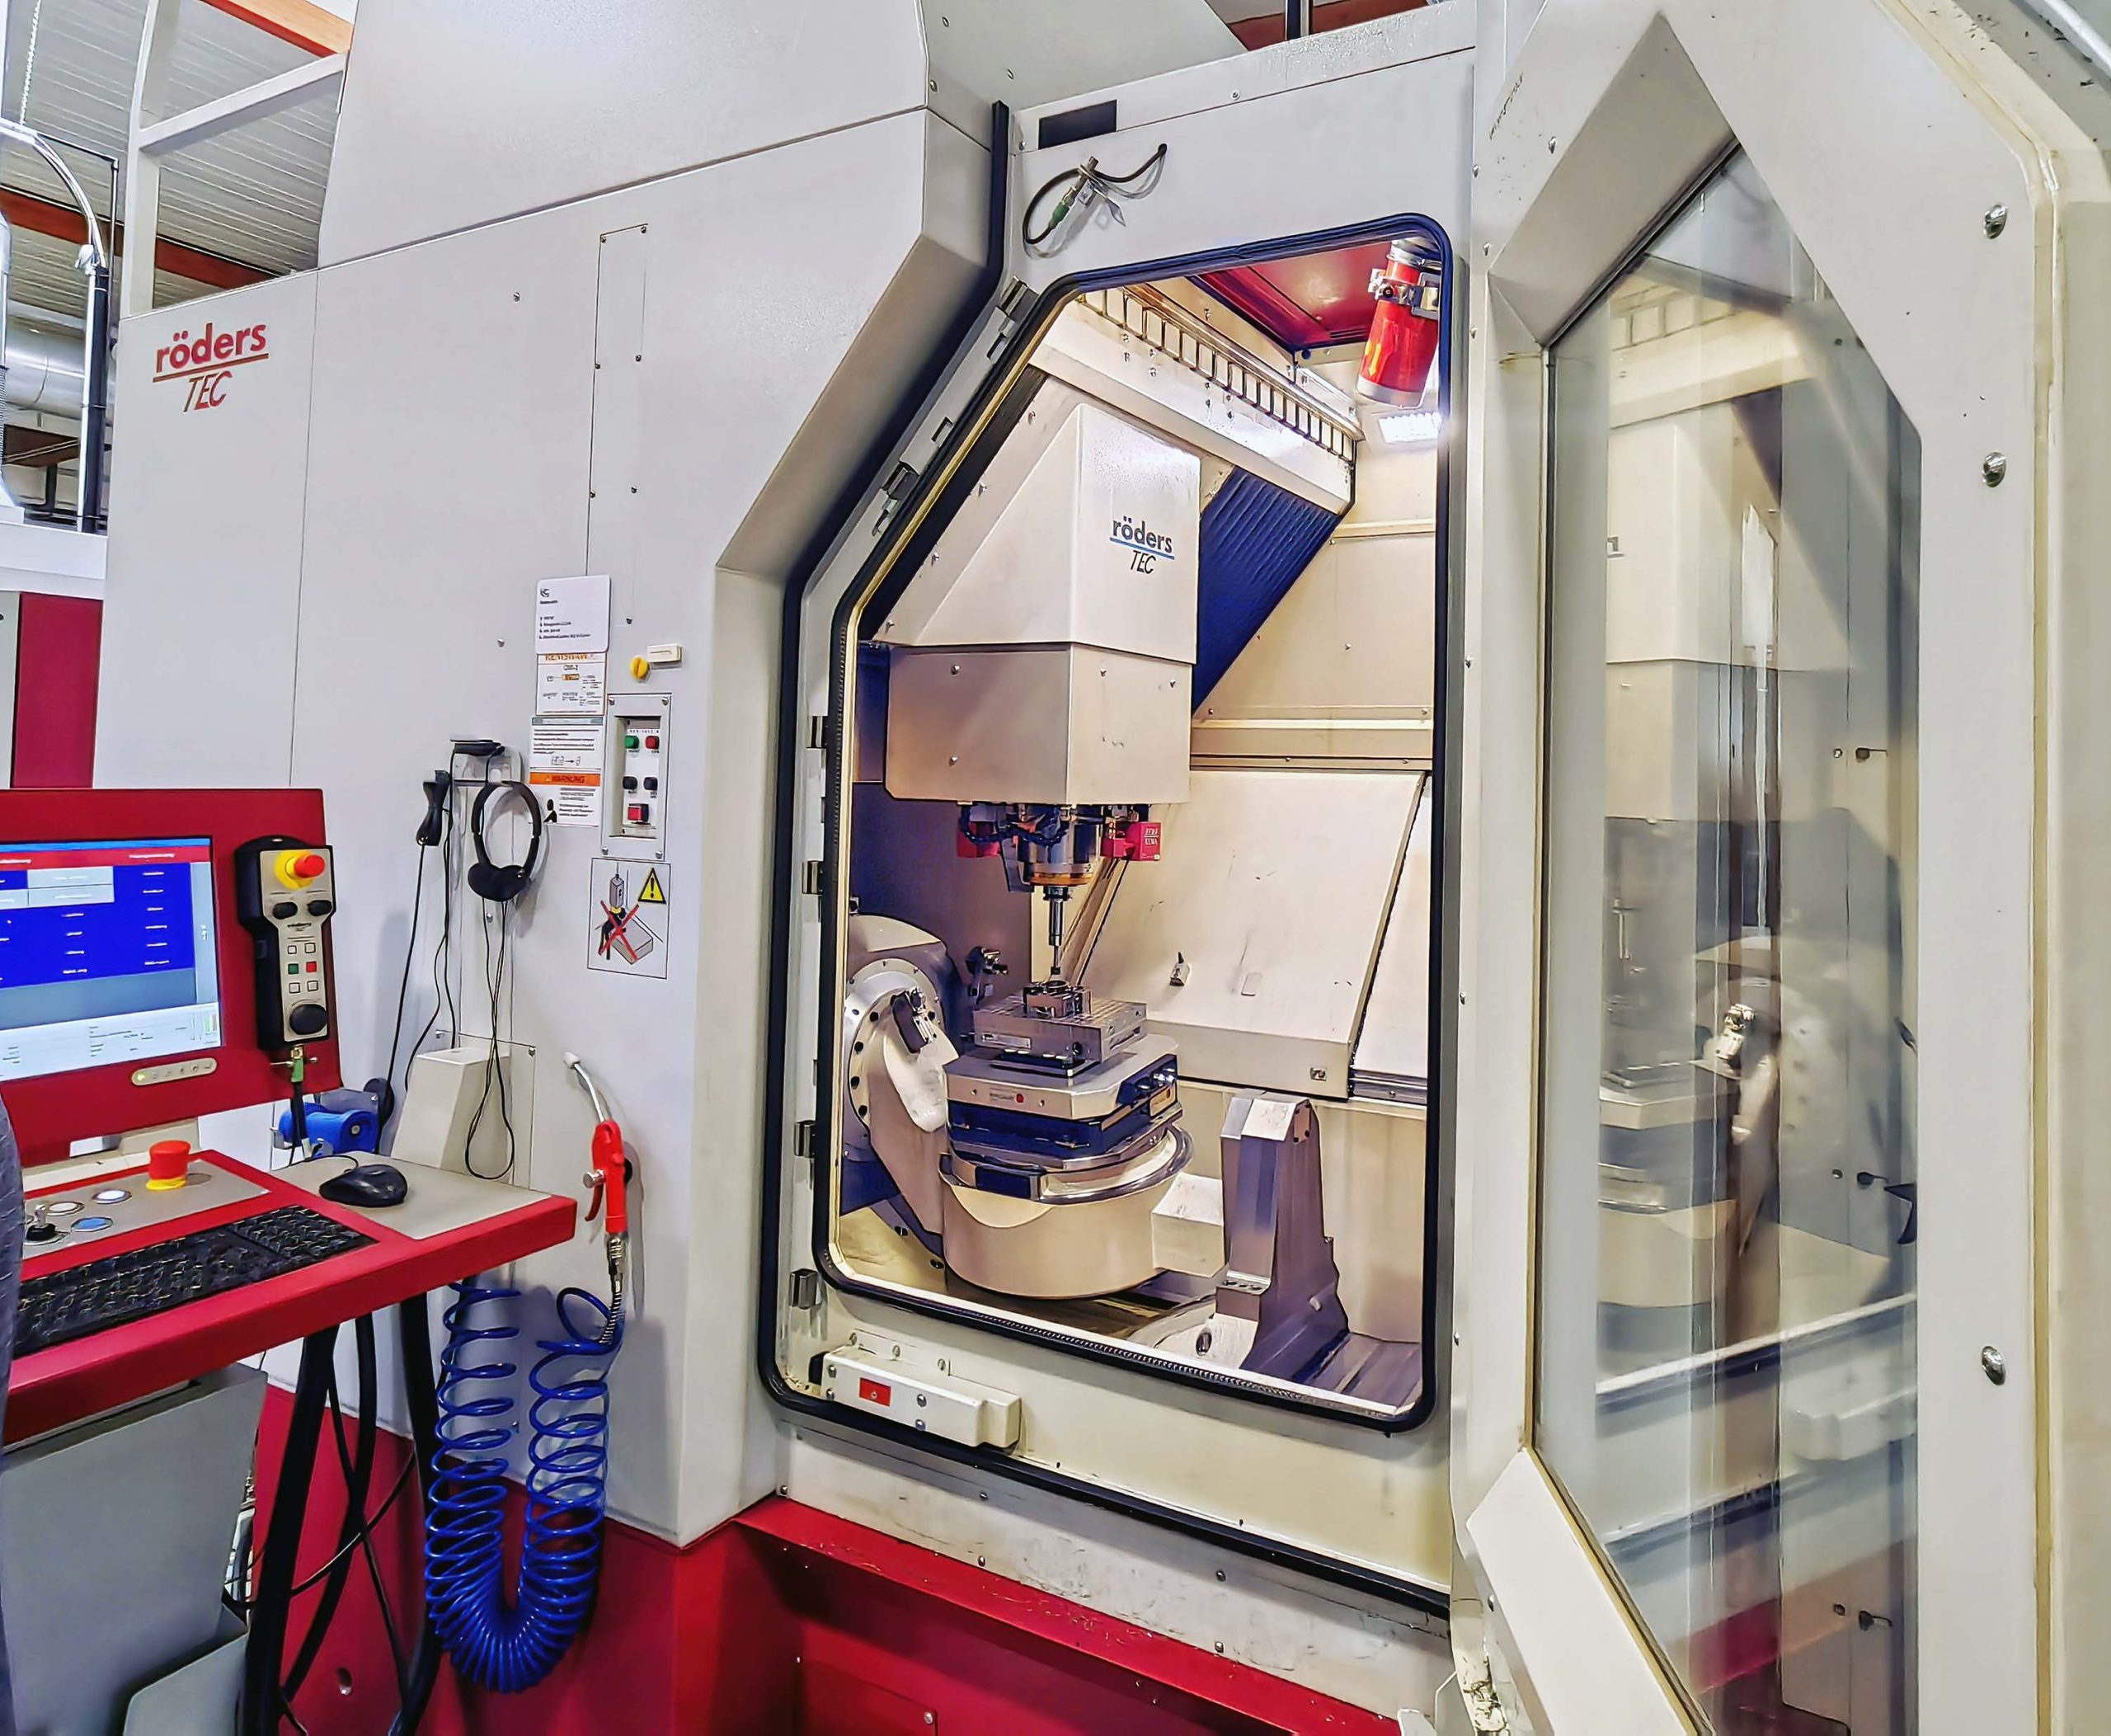
The solution was to invest in prismatic machining centres from Roeders, which are both rigid and precise enough to machine even extremely hard materials to the required accuracy, including tungsten carbide. They can now be clamped and machined to final dimensions by milling and jig grinding on the same platform. It results in enormous savings in terms of personnel, throughput time and cost.
One-hit processing eliminates the additional work involved in building multiple fixtures, performing several clamping and unclamping operations and interrupting the workflow due to shipping the component for hardening. The additional administrative expenditure for packaging, transportation and the ensuing quality control of incoming goods are eliminated.
Raphael Schloffer, machine operator and CAM programmer at Gerhard Rauch said, “When we received our first Roeders machine in 2015, we initially felt a little uneasy because until then we had worked with Heidenhain controls.
“Fortunately, the proprietary Roeders control system quickly proved to be easy to use. The integrated technology database offers several support options for jig grinding. Heidenhain cycles can also be integrated into the programs.”
Today there are five 5-axis Roeders milling centres on the shop floor in Trasdorf: three RXP 501 DSs and two RXP 601 DSHs. All are automated with an RCE 1 pallet storage system. Depending on the pallet type, it can hold between eight and 45 workpieces.
All machining centres have linear motors which, in combination with 32 kHz drives in all axes, enable highly dynamic, high precision machining. With this elevated correction frequency, a significant reduction in machining time is achieved, while at the same time surface quality is optimised. High resolution optical scales provide positional feedback in all axes. In addition, the Z-axis is fitted with a patented, friction-free, vacuum weight compensation system.
The machines feature sophisticated temperature management to ensure thermal stability. The temperature of the medium flowing through all the main components is controlled to an accuracy of ± 0.1°C. Another feature is the dedicated control system based on the Windows operating system, the functionalities of which are precisely tailored to the specific tasks of high speed, high precision milling, jig grinding and other grinding operations.
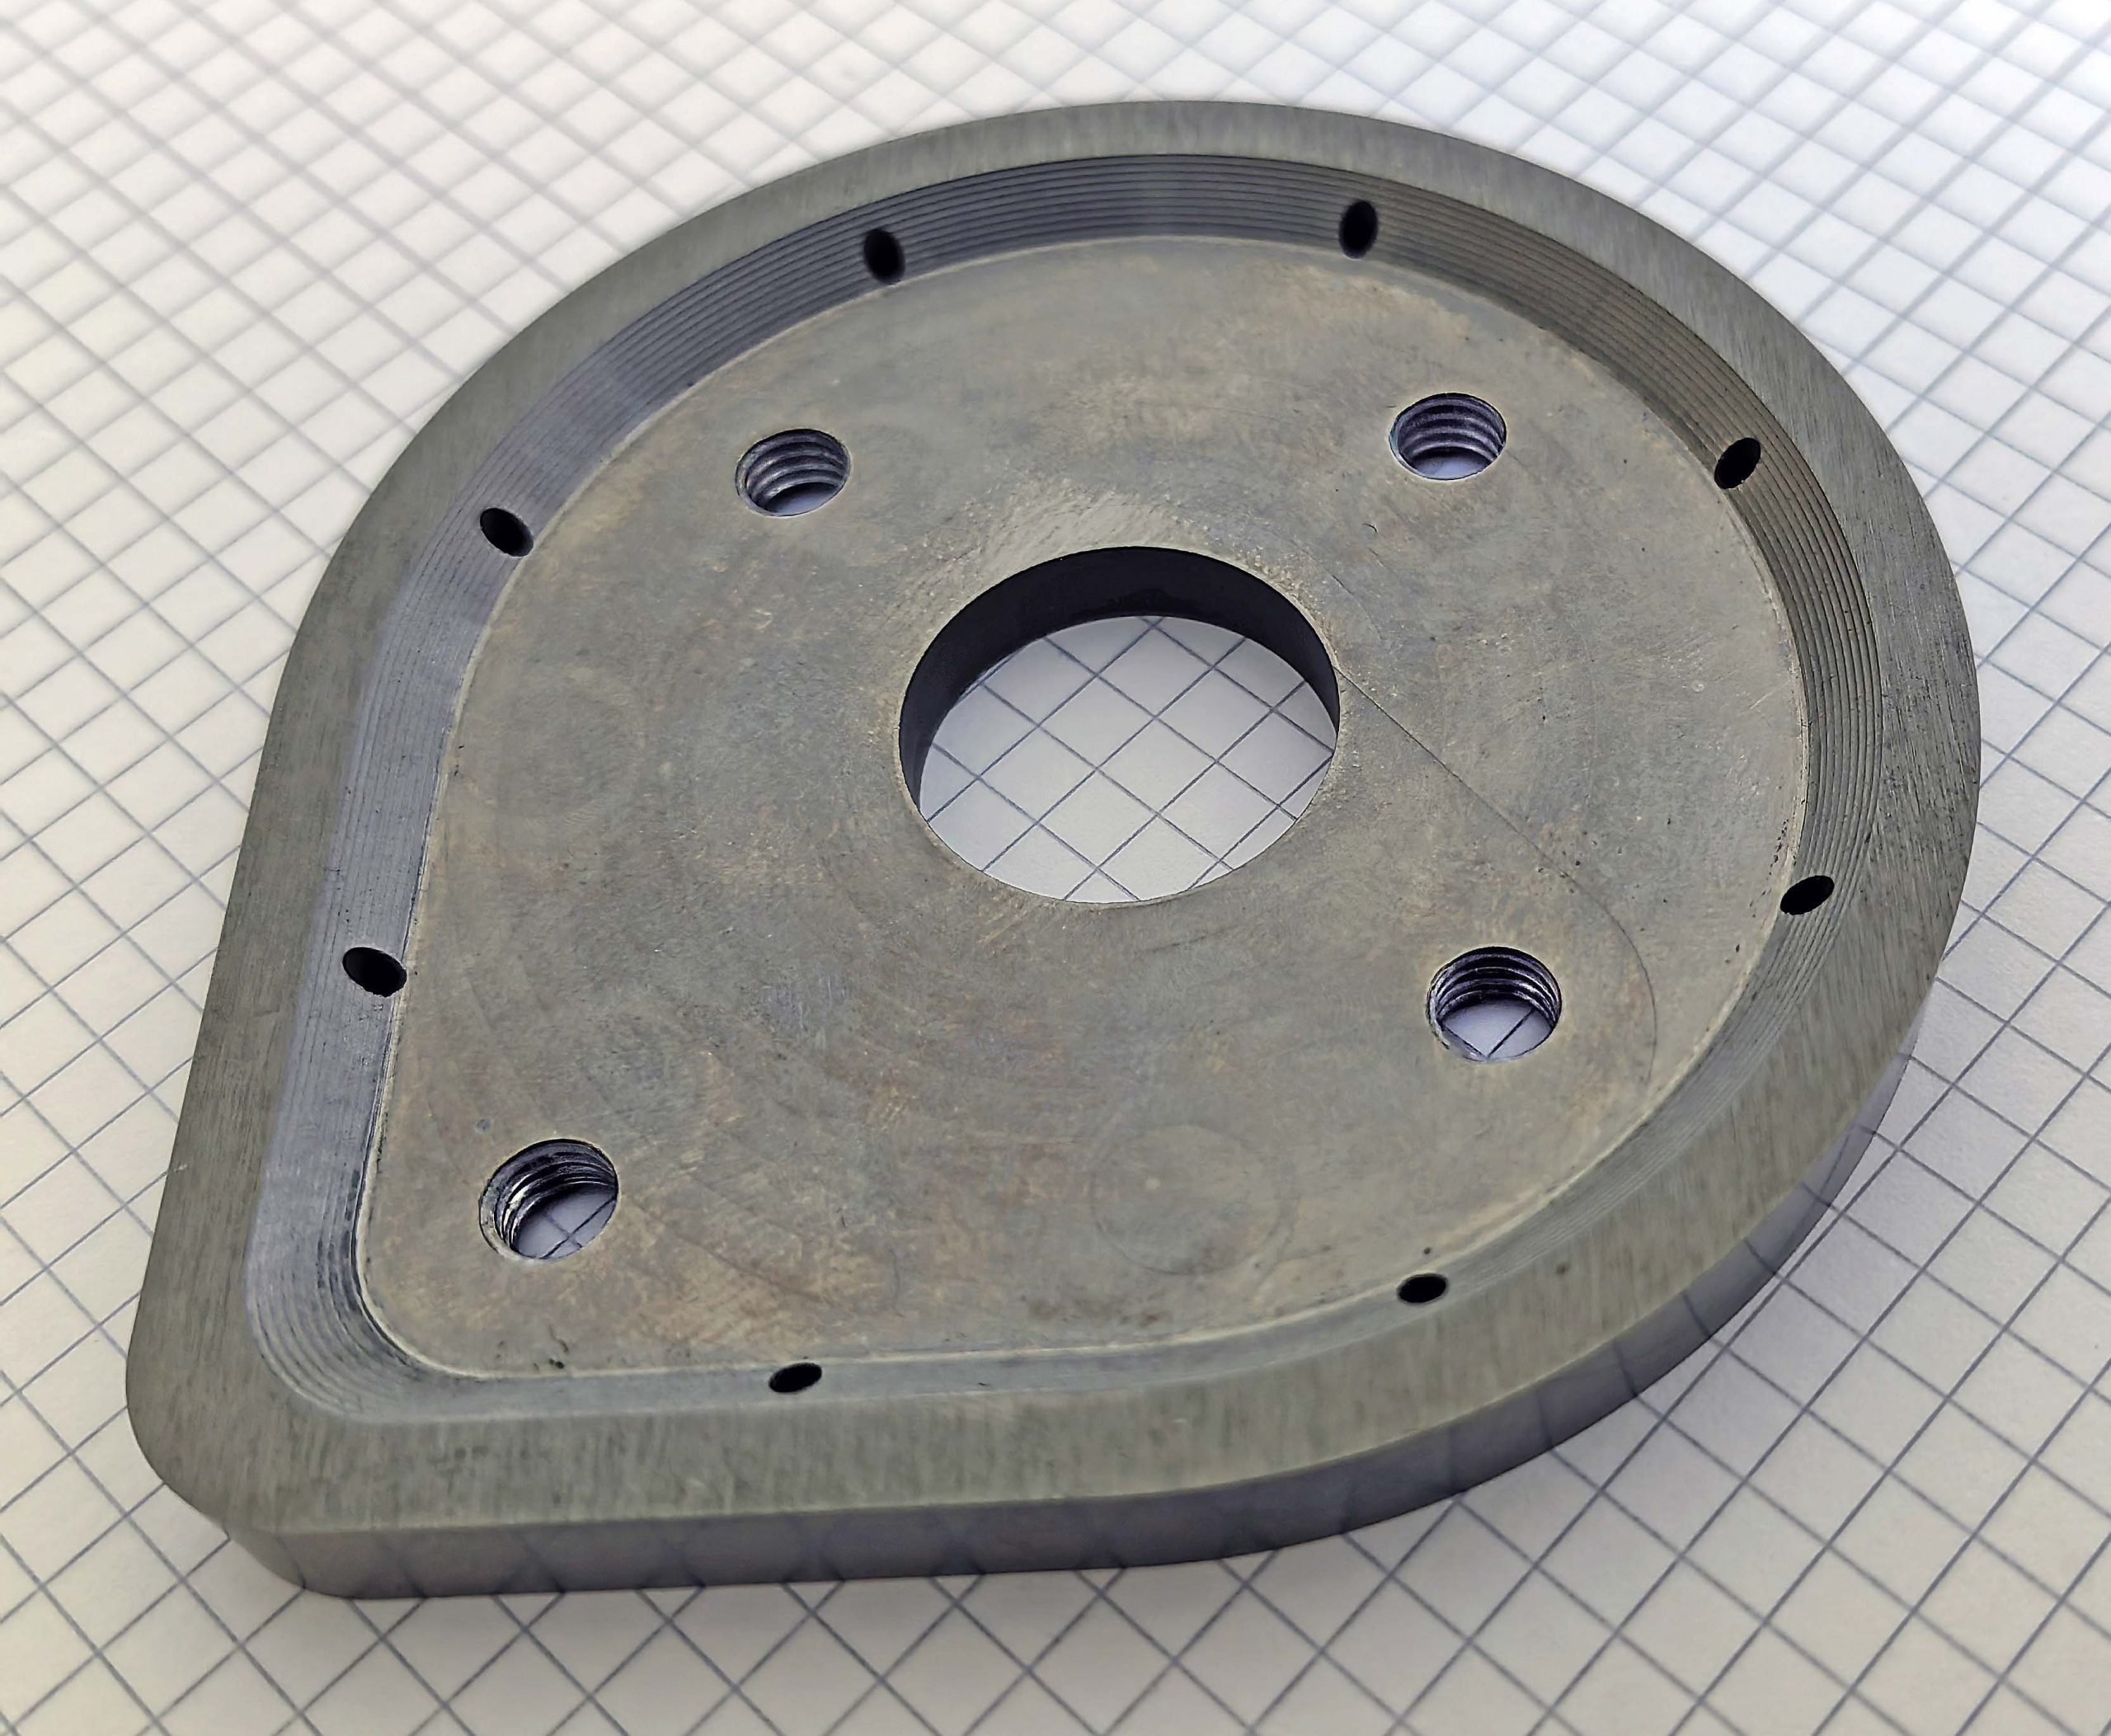
Mr Buresch points to a high accuracy flange that is produced in one of the cells from high strength steel having a hardness of 58 HRC. It is machined in its soft state and hardened, then surface ground on one side before being transferred to the Roeders. There are a tapered bore in the centre of the component and a cylindrical bore on either side with a diameter tolerance of -0 / +5 µm. In addition, the distance of their centres to the axis of the tapered bore must be within ±5 µm.
Machining on the Roeders comprises hard milling and jig grinding in one clamping. The two smaller bores are roughed and ground to size. The taper in the main bore is then ground to a mirror finish in a particularly demanding operation involving a 5-axis simultaneous cycle provided by the Roeders control. The resulting surface finish is less than Ra 0.15 µm.
Machined workpieces are frequently made from tungsten carbide. In certain cases this is less expensive than a solid steel tool, as a base of tool steel has a comparatively thin top layer of tungsten carbide. Only this latter layer needs to be machined to the required high precision. The strategy is made possible by the fact that the Roeders machines are suited to producing threads in tungsten carbide.
In another application, a carbide punching tool measuring 300 x 200 mm featuring seven individual punches was produced, as well as the corresponding die. A gap width of 3 µm had to be maintained for this tool. Numerous smaller precision tools and mould components are also produced on the Roeders systems, partly from tungsten carbide and also from tool steels. Here too, extreme precision is often required for the gap dimensions, for example when machining injection moulds for producing components from low-viscosity materials such as silicones.


